Sunday, August 31, 2014

South African milk tart with a twist

South African milk tart with a twist


South African milk tart with a twist


Milktart is a very proud South African recipe and one of my favourites. And let me tell you, it sure is a preferred and well liked recipe in my household. Nevertheless this is not a typical dish of milk tart; this one comes with a bit of a twist.

Rather than making use of sugar to sweeten the 'custard', I make use of condensed milk. It adds a beautiful creaminess along with the already truly wonderful flavour that is only available if you use condensed milk in your recipe.

And you definitely know something is really good when a quite loud South African “Afrikaans” family goes extremely quite while they are consuming traditional South African milk-tart, which incidentally happened again last week when I served it up for family and friends that came for a visit.
You can make the pastry yourself like I did, or you can make use of a prefabricated short-crust pastry if you don't have the time to make it yourself. What makes this South African recipe so very-very delicious and so easy to make is unlike other milk tart recipes, the filling do not need to be cooked. You simply permit it to cook in a stove, then pour the concoction onto the crust and you then place it in the refrigerator.


Buying the baking products beforehand

For our international readers and expat South Africans living overseas you can now buy all your baking products online via a South African product and food store called Saffatrading including traditional baking products that you will only be able to find in a South Africa grocery store or on a SA online food shop.


This recipe below makes one typical standard-size milk-tart

Making of the crust: (If you discover that there is way too much dough for this recipe, cover the dough that is left over in some cling-wrapping and then freeze it for the next time.
  • 70g soft butter.
  • 70ml - 5 teaspoons caster sugar.
  • 1 normal size egg.
  • 250ml 1 mug of flour.
  • 5ml - 1 teaspoons baking powder.
  • A pinch of salt.


Ingredients for the filling:

  • 500ml milk.
  • 1 tin condensed milk.
  • 15 ml butter or margarine.
  • 2 large eggs.
  • 5ml Vanilla extract.
  • 50g corn flour.
  • Cinnamon for sprinkling.
To make the crust, combine the sugar and butter till it’s fluffy and light. Now add the egg and beat it well before including the flour, the salt and baking powder. Mix it well.
Now place the dough into a specific made pie-dish and bake for approximately 15 minutes at 200 degrees Celsius. Now you need to remove it from the stove and permit it to cool down.

How to make the filling:

Incorporate the milk, condensed milk and the butter or margarine in a little saucepan and let it boil.
Beat the corn-flour, eggs and the vanilla together.
Whilst you are whisking these 3 ingredients, gradually pour 1 mug of the milk blend into the egg mixture and whisk it well.
Now you need to add the egg combo into the remainder of the milk blend and allow it to carefully thicken whilst constantly stirring it to avoid it forming any lumps.
It ought to take around 5-8 minutes for the blend to expand. Now you need to taste it to make certain that there is no 'floury' structure or taste, it needs to be totally smooth.
The filling should have the feel of a thick-cheese sauce just before pouring it over the crust. If it does not have the specific feel you can add a couple of teaspoons of corn-flour and milk.
Transfer the filling up into the cooled down pie crust and spray with cinnamon. Now you can refrigerate it until it is firm and ready to be eaten. This will normally take about 2 hours before its ready to be consumed.

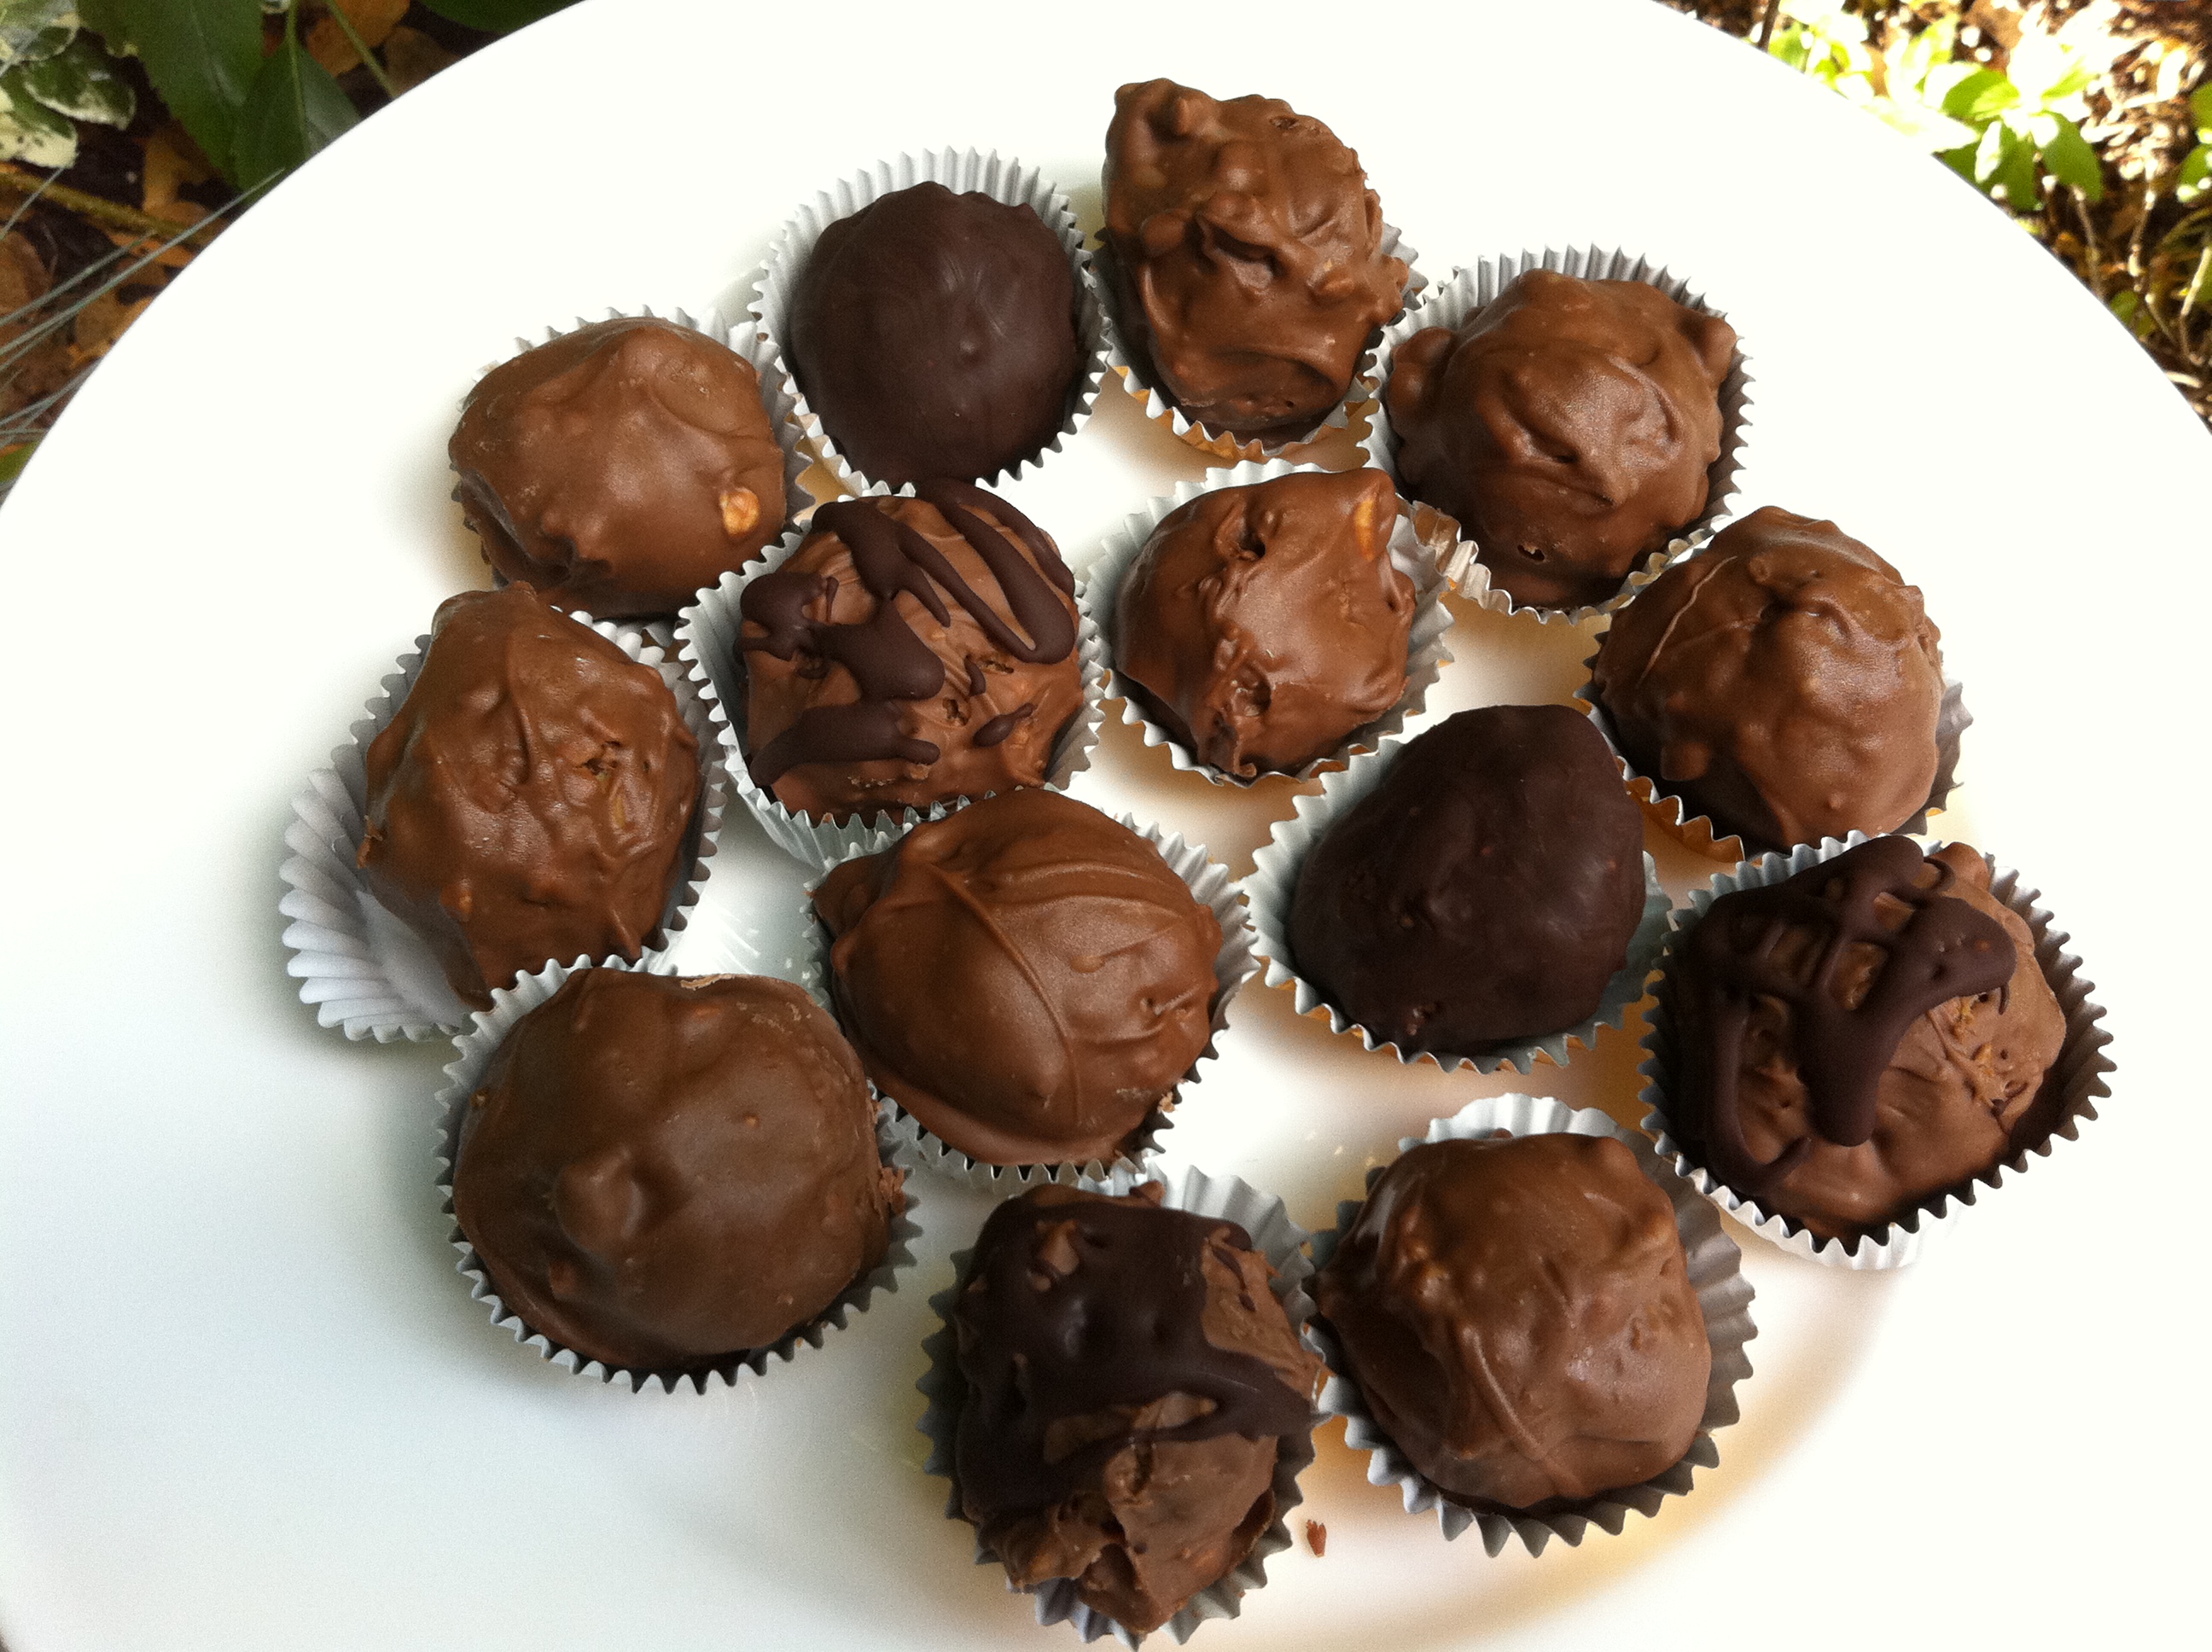
Σοκολατάκια Ferrero Rocher σπιτικά

Σοκολατάκια Ferrero Rocher σπιτικά

Ποιος δεν ξέρει τα υπέροχα αυτά σοκολατάκια???
Η απόλαυση της σοκολάτας, η απόλυτη σοκολατονοστιμιά!
Μια τόση δα μπουκίτσα, ικανή να απογειώσει την γεύση μας και να μας χαρίσει ένα πλατύ χαμόγελο ευχαρίστησης!!
Εδώ και καιρό έψαχνα να βρω μια συνταγή για σπιτικά ferrero rocher σοκολατάκια.
Και επιτέλους την βρήκα εδώ!!
Φοβήθηκα αρχικά ότι δεν θα έβγαιναν αρκετά, γι αυτό αύξησα αναλογικά τις ποσότητες. Όμως βγήκαν μπόλικα, 35-40 σοκολατάκια, ίσως και παραπάνω αν γίνουν πιο μικρά!
Σοκολατάκια όχι απλά τόσο νόστιμα σαν τα αυθεντικά, αλλά όπως δήλωσαν οι γιοι μου, 100 φορές πιο νόστιμα!!!
Δοκιμάστε τα και «κακομάθετε» τον εαυτό σας και τους αγαπημένους σας με την απίστευτη νοστιμιά τους!!
Πάμε να τα φτιάξουμε!
(προσαρμογή συνταγής από εδώ)

Χρειαζόμαστε:
200-220 γρ. φουντούκια (κατά προτίμηση ψημένα)
300 γρ. νουτέλα
150 γρ. γκοφρέτες με φουντούκι (ή και απλές με σοκολάτα)
340 γρ. κουβερτούρα πικρή ή γάλακτος ή πραλίνας ή συνδυασμό τους
Στην πράξη:
Αν τα φουντούκια που θα χρησιμοποιήσουμε δεν είναι ψημένα, τα βάζουμε στο ταψί του φούρνου, πάνω σε αντικολλητικό χαρτί, και τα ψήνουμε για 8-10 λεπτά, στους 180 βαθμούς. Κατόπιν αφού κρυώσουν λίγο, τρίβουμε την επιφάνειά τους με μια πετσέτα για να απομακρυνθεί η φλούδα.
Τα βάζουμε στο μούλτι και τα κόβουμε σε χοντρά κομμάτια (προσοχή μην γίνουν σκόνη) ή τα κόβουμε με ένα μαχαίρι σε χοντρά κομμάτια.
Σε βαθύ μπολ βάζουμε τα φουντούκια, τις γκοφρέτες θρυμματισμένες και την νουτέλα.
Ανακατεύουμε όλα τα υλικά καλά.
Βάζουμε το μείγμα στο ψυγείο για 15-30 λεπτά.
Εν τω μεταξύ λιώνουμε σε μπεν μαρί ή στον μικροκυμάτων την κουβερτούρα.
Εγώ χρησιμοποίησα κουβερτούρα Πραλίνα της Nestlé, θεωρώ ότι είναι αυτή που ταιριάζει ιδανικά σε αυτά τα σοκολατάκια. Μπορείτε όμως να χρησιμοποιήσετε όποια κουβερτούρα σας αρέσει.
Βγάζουμε το μπολ με το μείγμα από το ψυγείο.
Πλάθουμε μικρά μπαλάκια και τα βυθίζουμε στην λιωμένη κουβερτούρα να καλυφθούν καλά ολόγυρα.
Στρώνουμε 2-3 δισκάκια με λαδόκολα.
Προσεκτικά με δυο κουτάλια ή ότι άλλο μας βολεύει, παίρνουμε τα μπαλάκια από την λιωμένη κουβερτούρα και τα τοποθετούμε πάνω στην λαδόκολα.
Αν στο τέλος μας έχει περισσέψει λίγη κουβερτούρα, την ρίχνουμε με ένα κουταλάκι προσεκτικά πάνω από τα σοκολατάκια.
Βάζουμε τα δισκάκια στο ψυγείο για να παγώσει και να στερεοποιηθεί καλά η σοκολάτα.
Κατόπιν σοκολατο-απολαμβάνουμε!
Τα διατηρούμε στο ψυγείο, ειδικά τώρα το καλοκαίρι που οι μέρες είναι ζεστές.
Δοκιμάστε τα, θα τα λατρέψετε!
Καλή επιτυχία!!

Homemade Ferrero Rocher


 Homemade Ferrero Rocher


Homemade Ferrero Rocher


ferrero_rocher
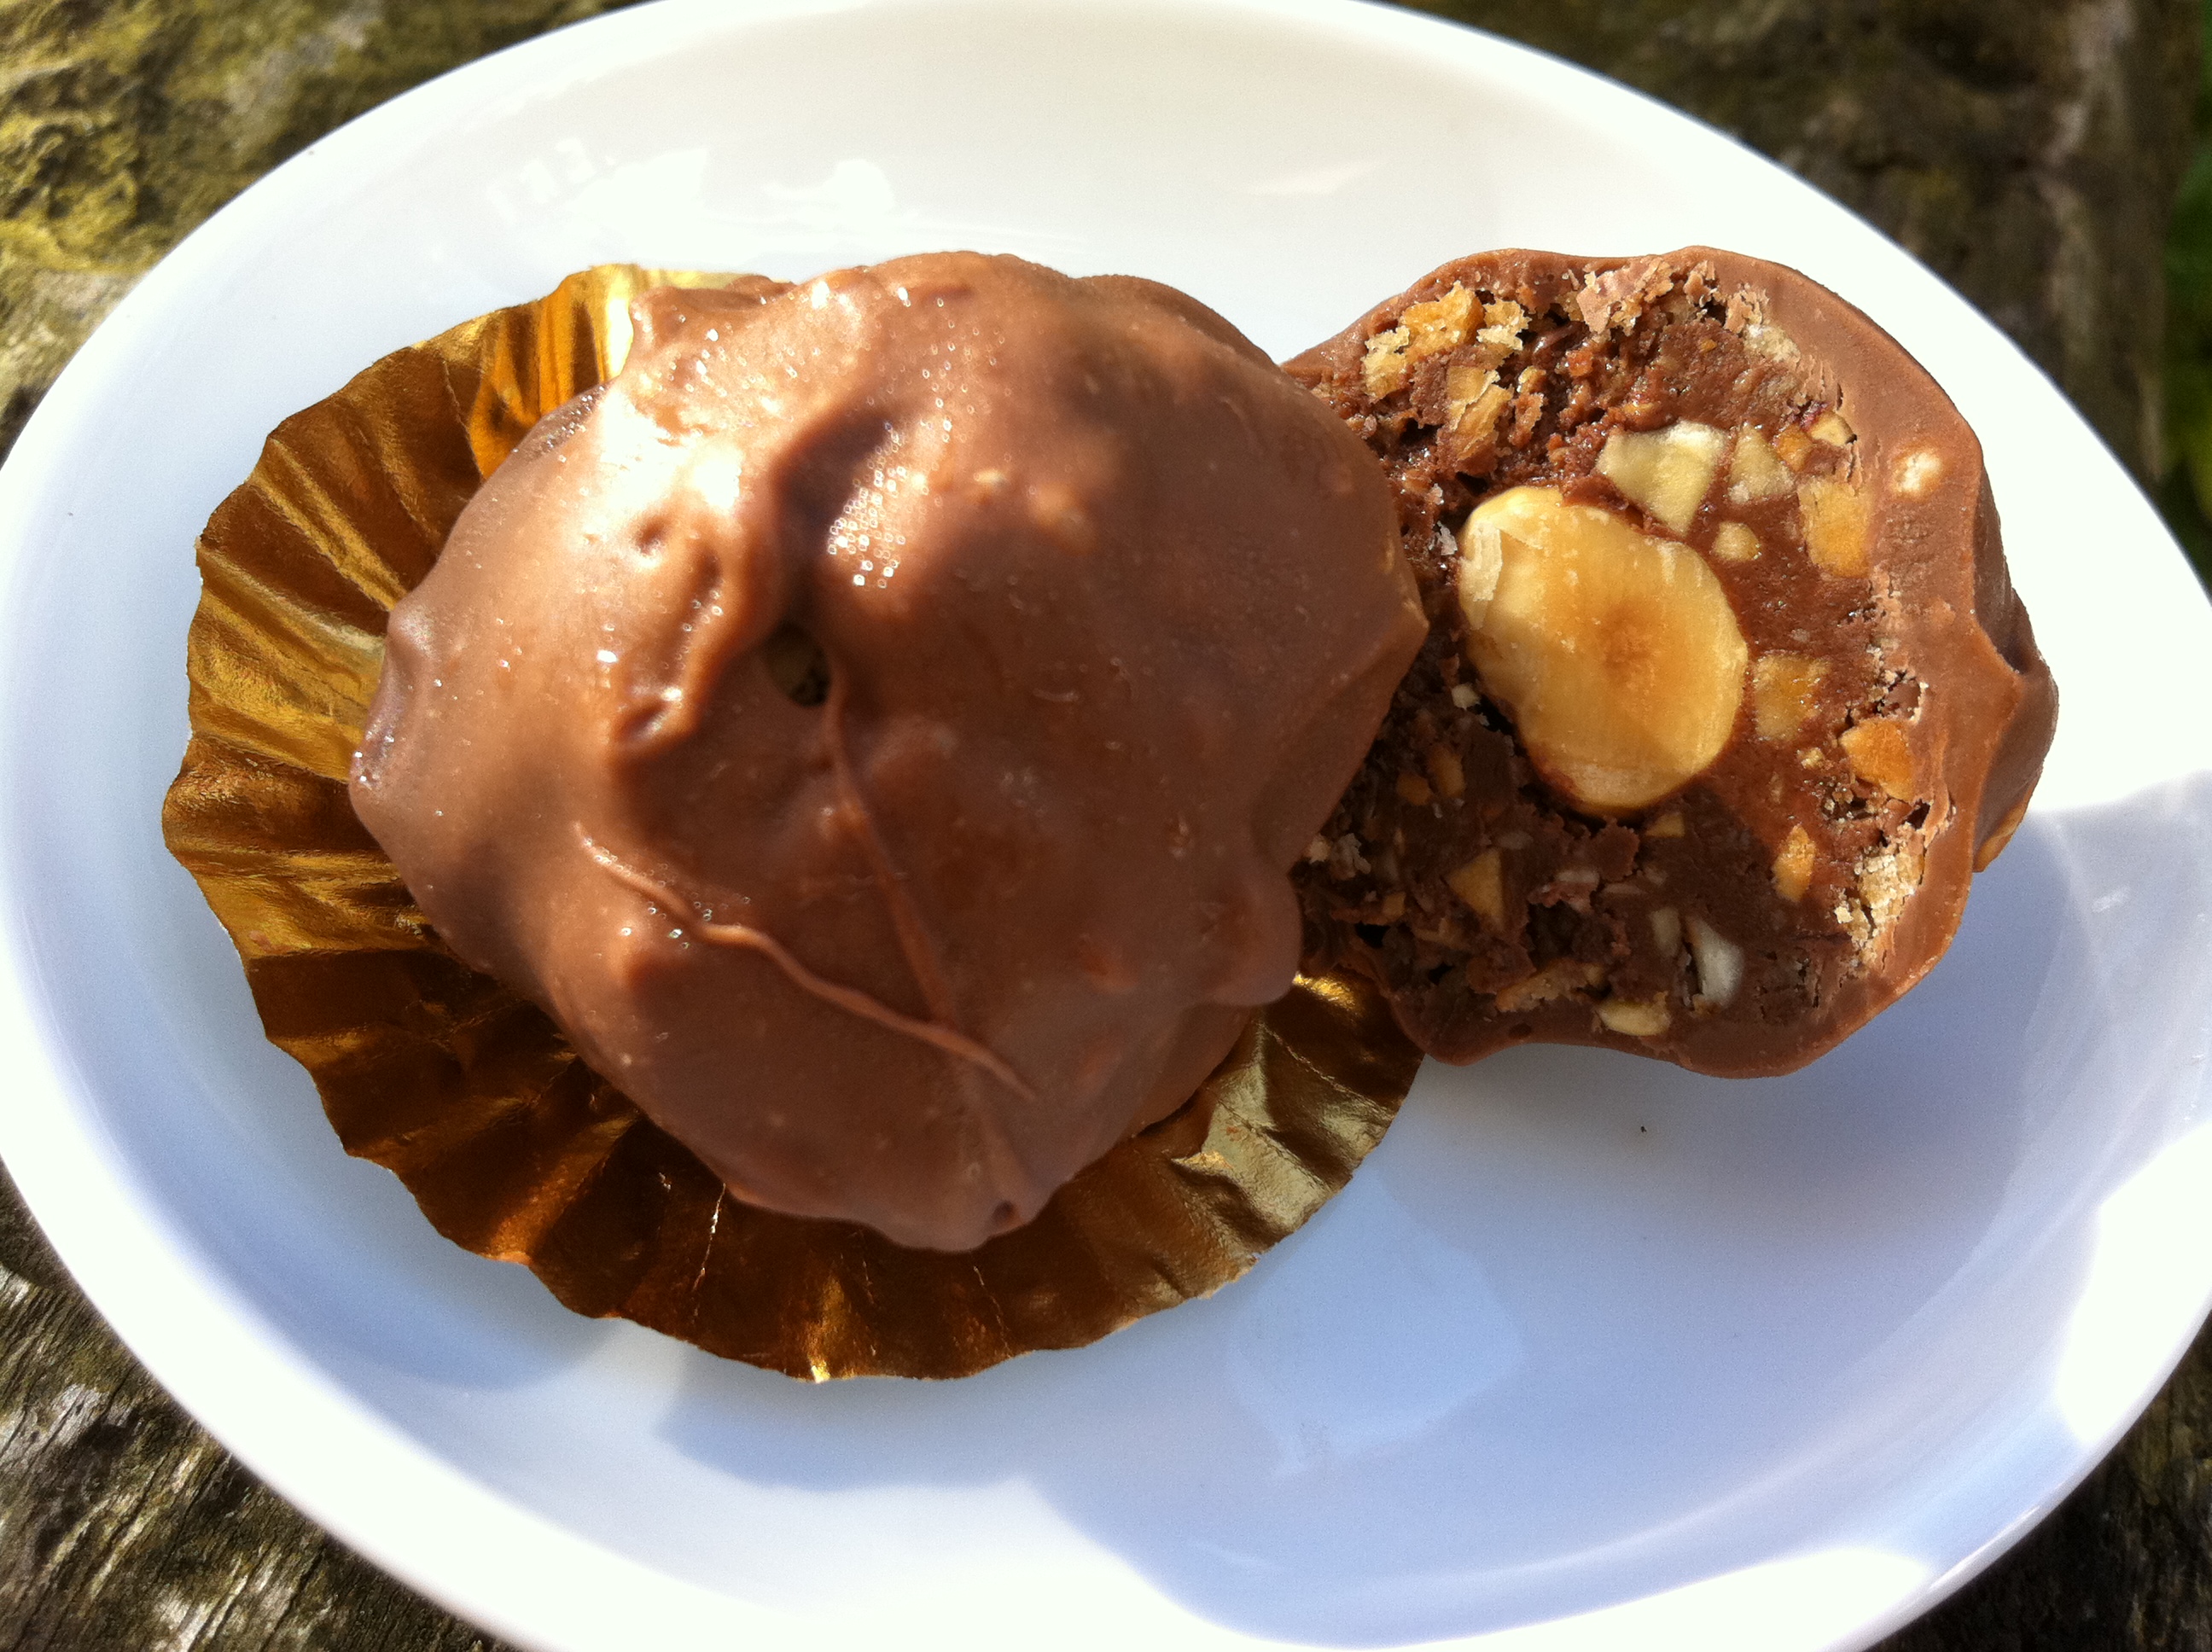
Creamy nutella, crunchy wafer and toasted hazelnut enrobed in a cloak of milk chocolate
I’m not sure how many of you are going to read this post in full. In my experience, baking blogs are often an exercise in unashamed food pornography, and I’ve pretty much provided you with the money-shot right here. In fact, I can already picture people scrolling straight down to the recipe and racing off to grab a jar of Nutella from the kitchen cupboard so they can get started straight away.
You know what? I wouldn’t blame them. This recipe really is that good ;-)
homemade_ferrero_rocher
A present to rival the ambassador’s golden tower . . .
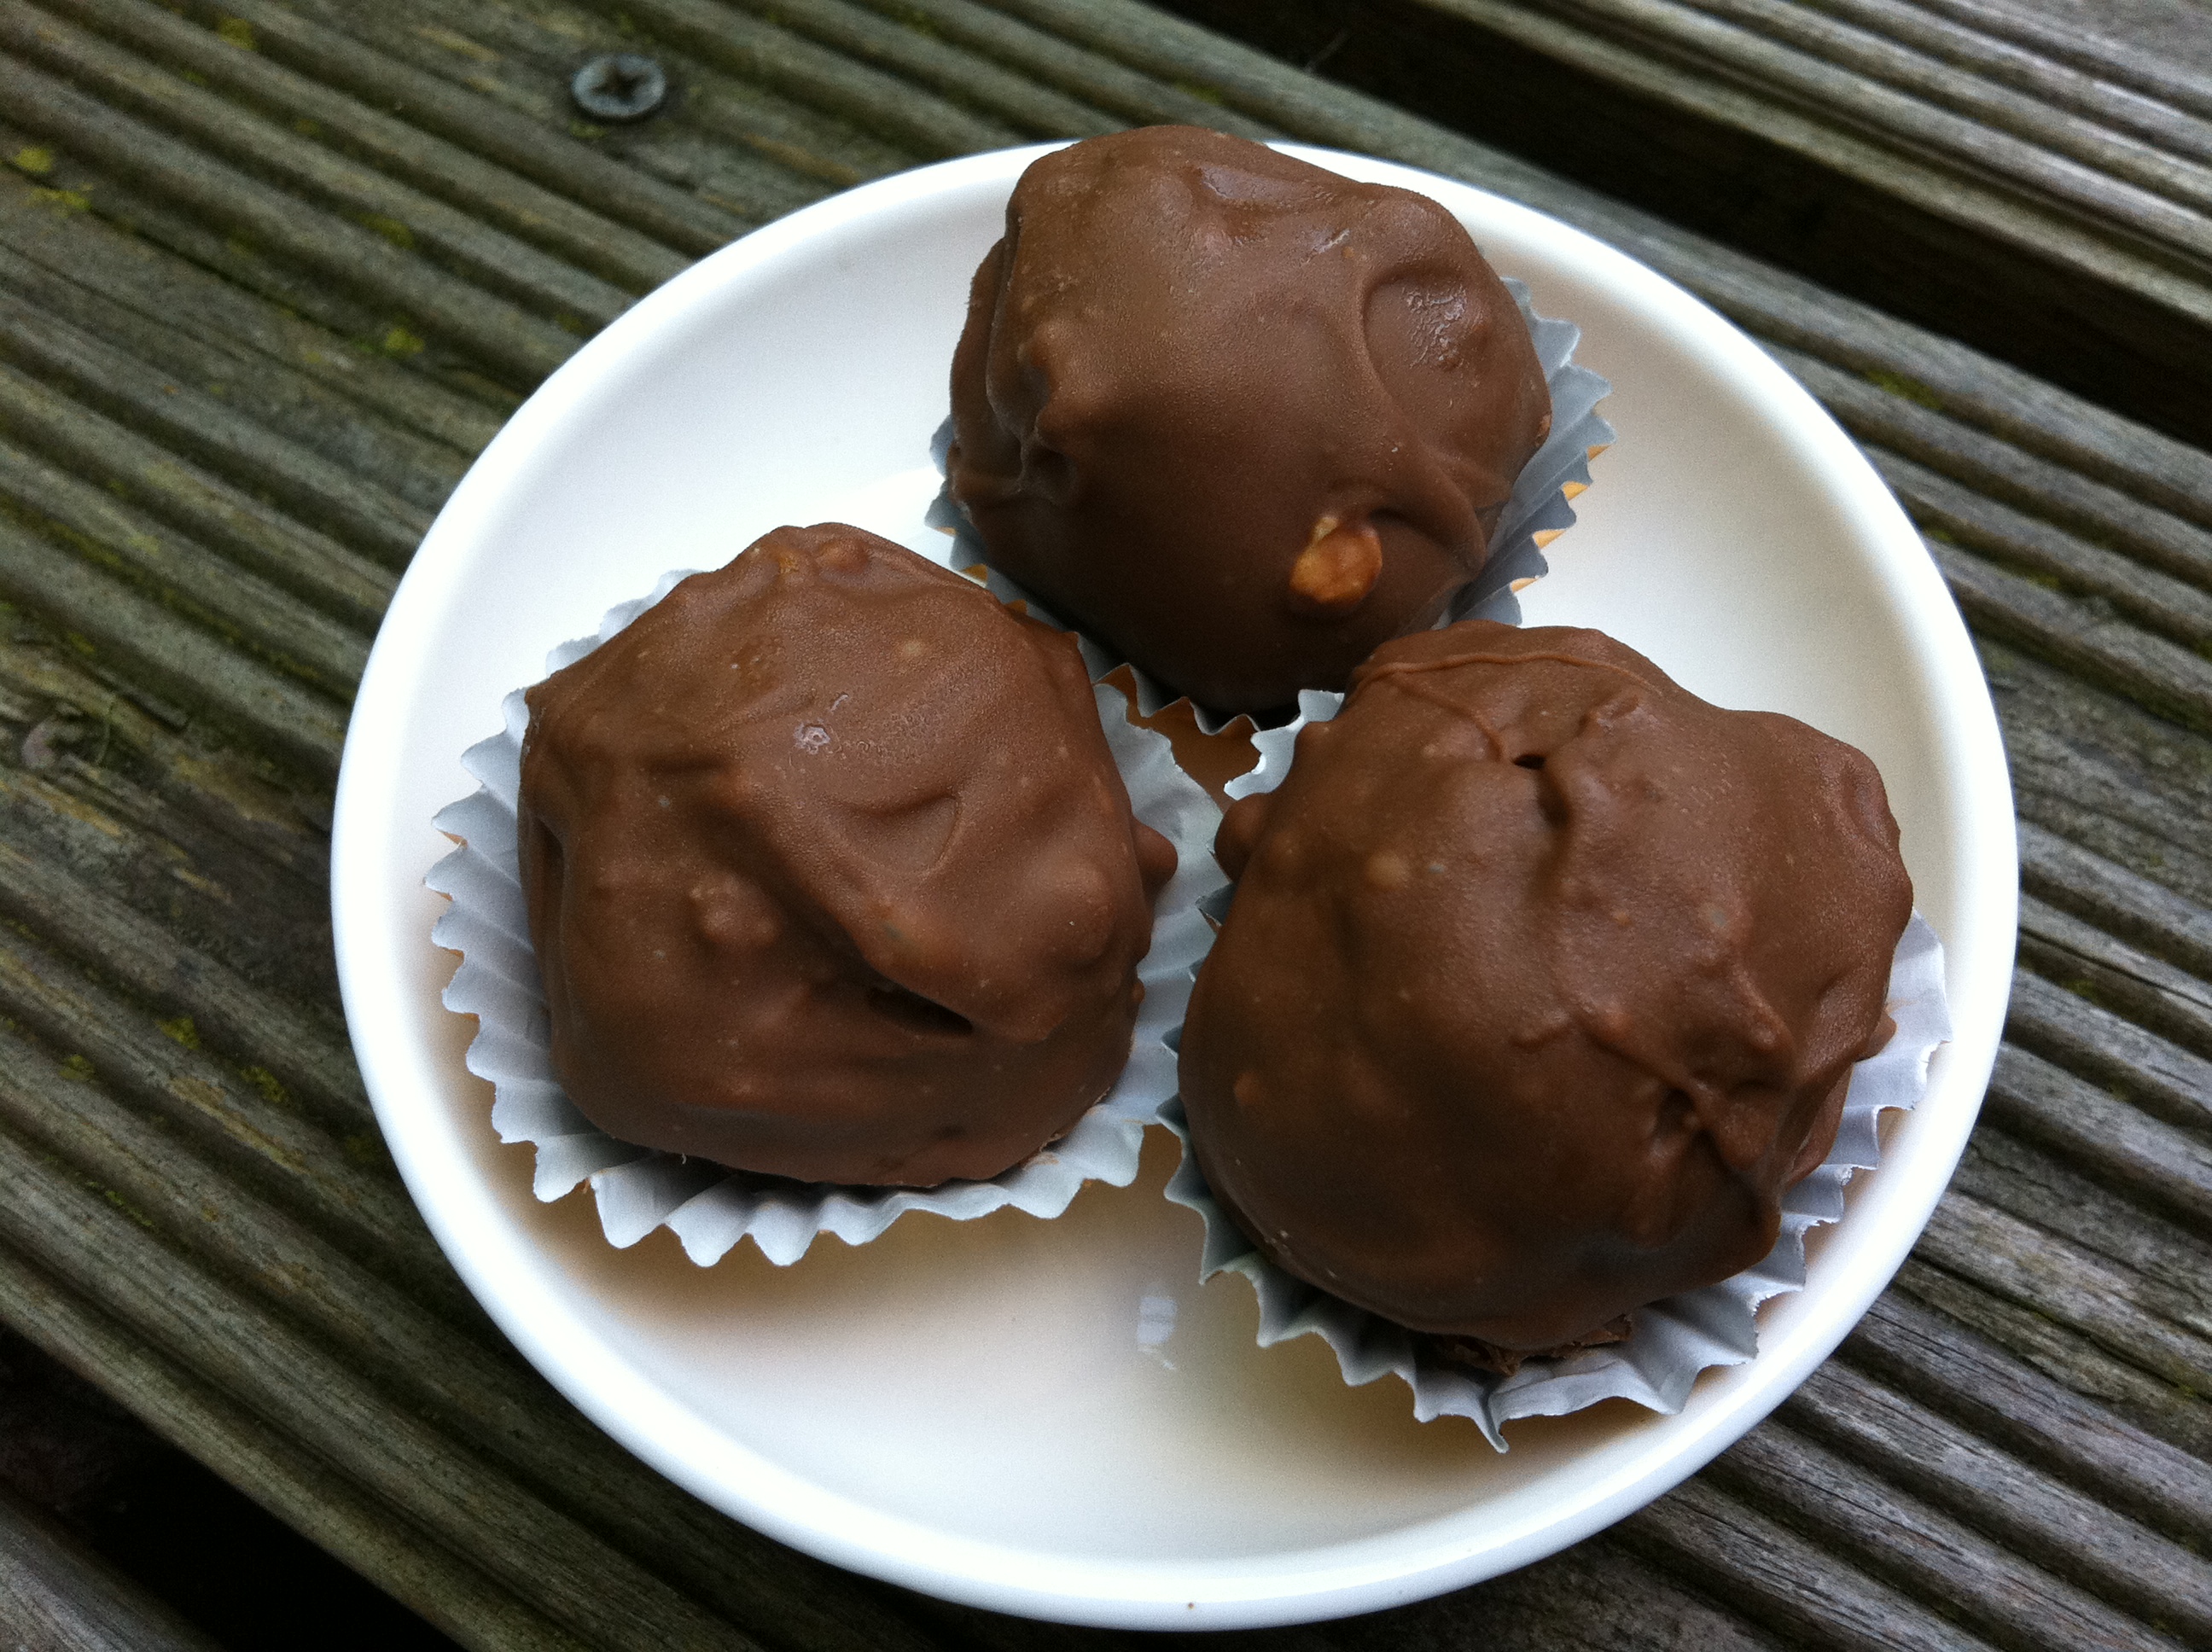
That’s not to say it’s not just a little bit naff, but surely that’s the joy of a Ferrero Rocher? Turn up to a dinner party with a box of them and your host may well turn up their nose (these aren’t quite quite Earl-Grey-infused single estate cocoa truffles), but I can think of few people who can resist the guilty pleasure of unwrapping the golden foil, popping one (or three) of these little treats in their mouth, and biting into their smooth, crispy crunch.
The Ferrero Rocher came into the world in 1982, just a couple of years before I did. While I was learning to walk and talk, these chocolates were establishing themselves as the height of eighties sophistication; pyramids of golden balls sitting proudly alongside hedgehogs of tin-foiled grapefruit pierced with cheese on a stick.  Nowadays we might smirk at what passed for chic in those distant shoulder-padded days, but with over 3.6 billion Ferrero Rocher produced worldwide in 2010, I think the Ambassador might just be having the last laugh.
hazelnut_ferrero_rocher
Just one is never enough . . .
If you’ve read this blog recently, you’ll know I’ve become slightly obsessed by hazelnuts; from cupcakes to frosting, ice cream to brownies and everything in between, incorporating a sprinkle of nuts here and a dollop of Nutella there. A couple of weeks ago, one reader (aka the incredibly talented Procrastobaker) mentioned her addiction to Ferrero Rocher, and the idea of a homemade version started to take seed.
homemade_ferrero_rocher
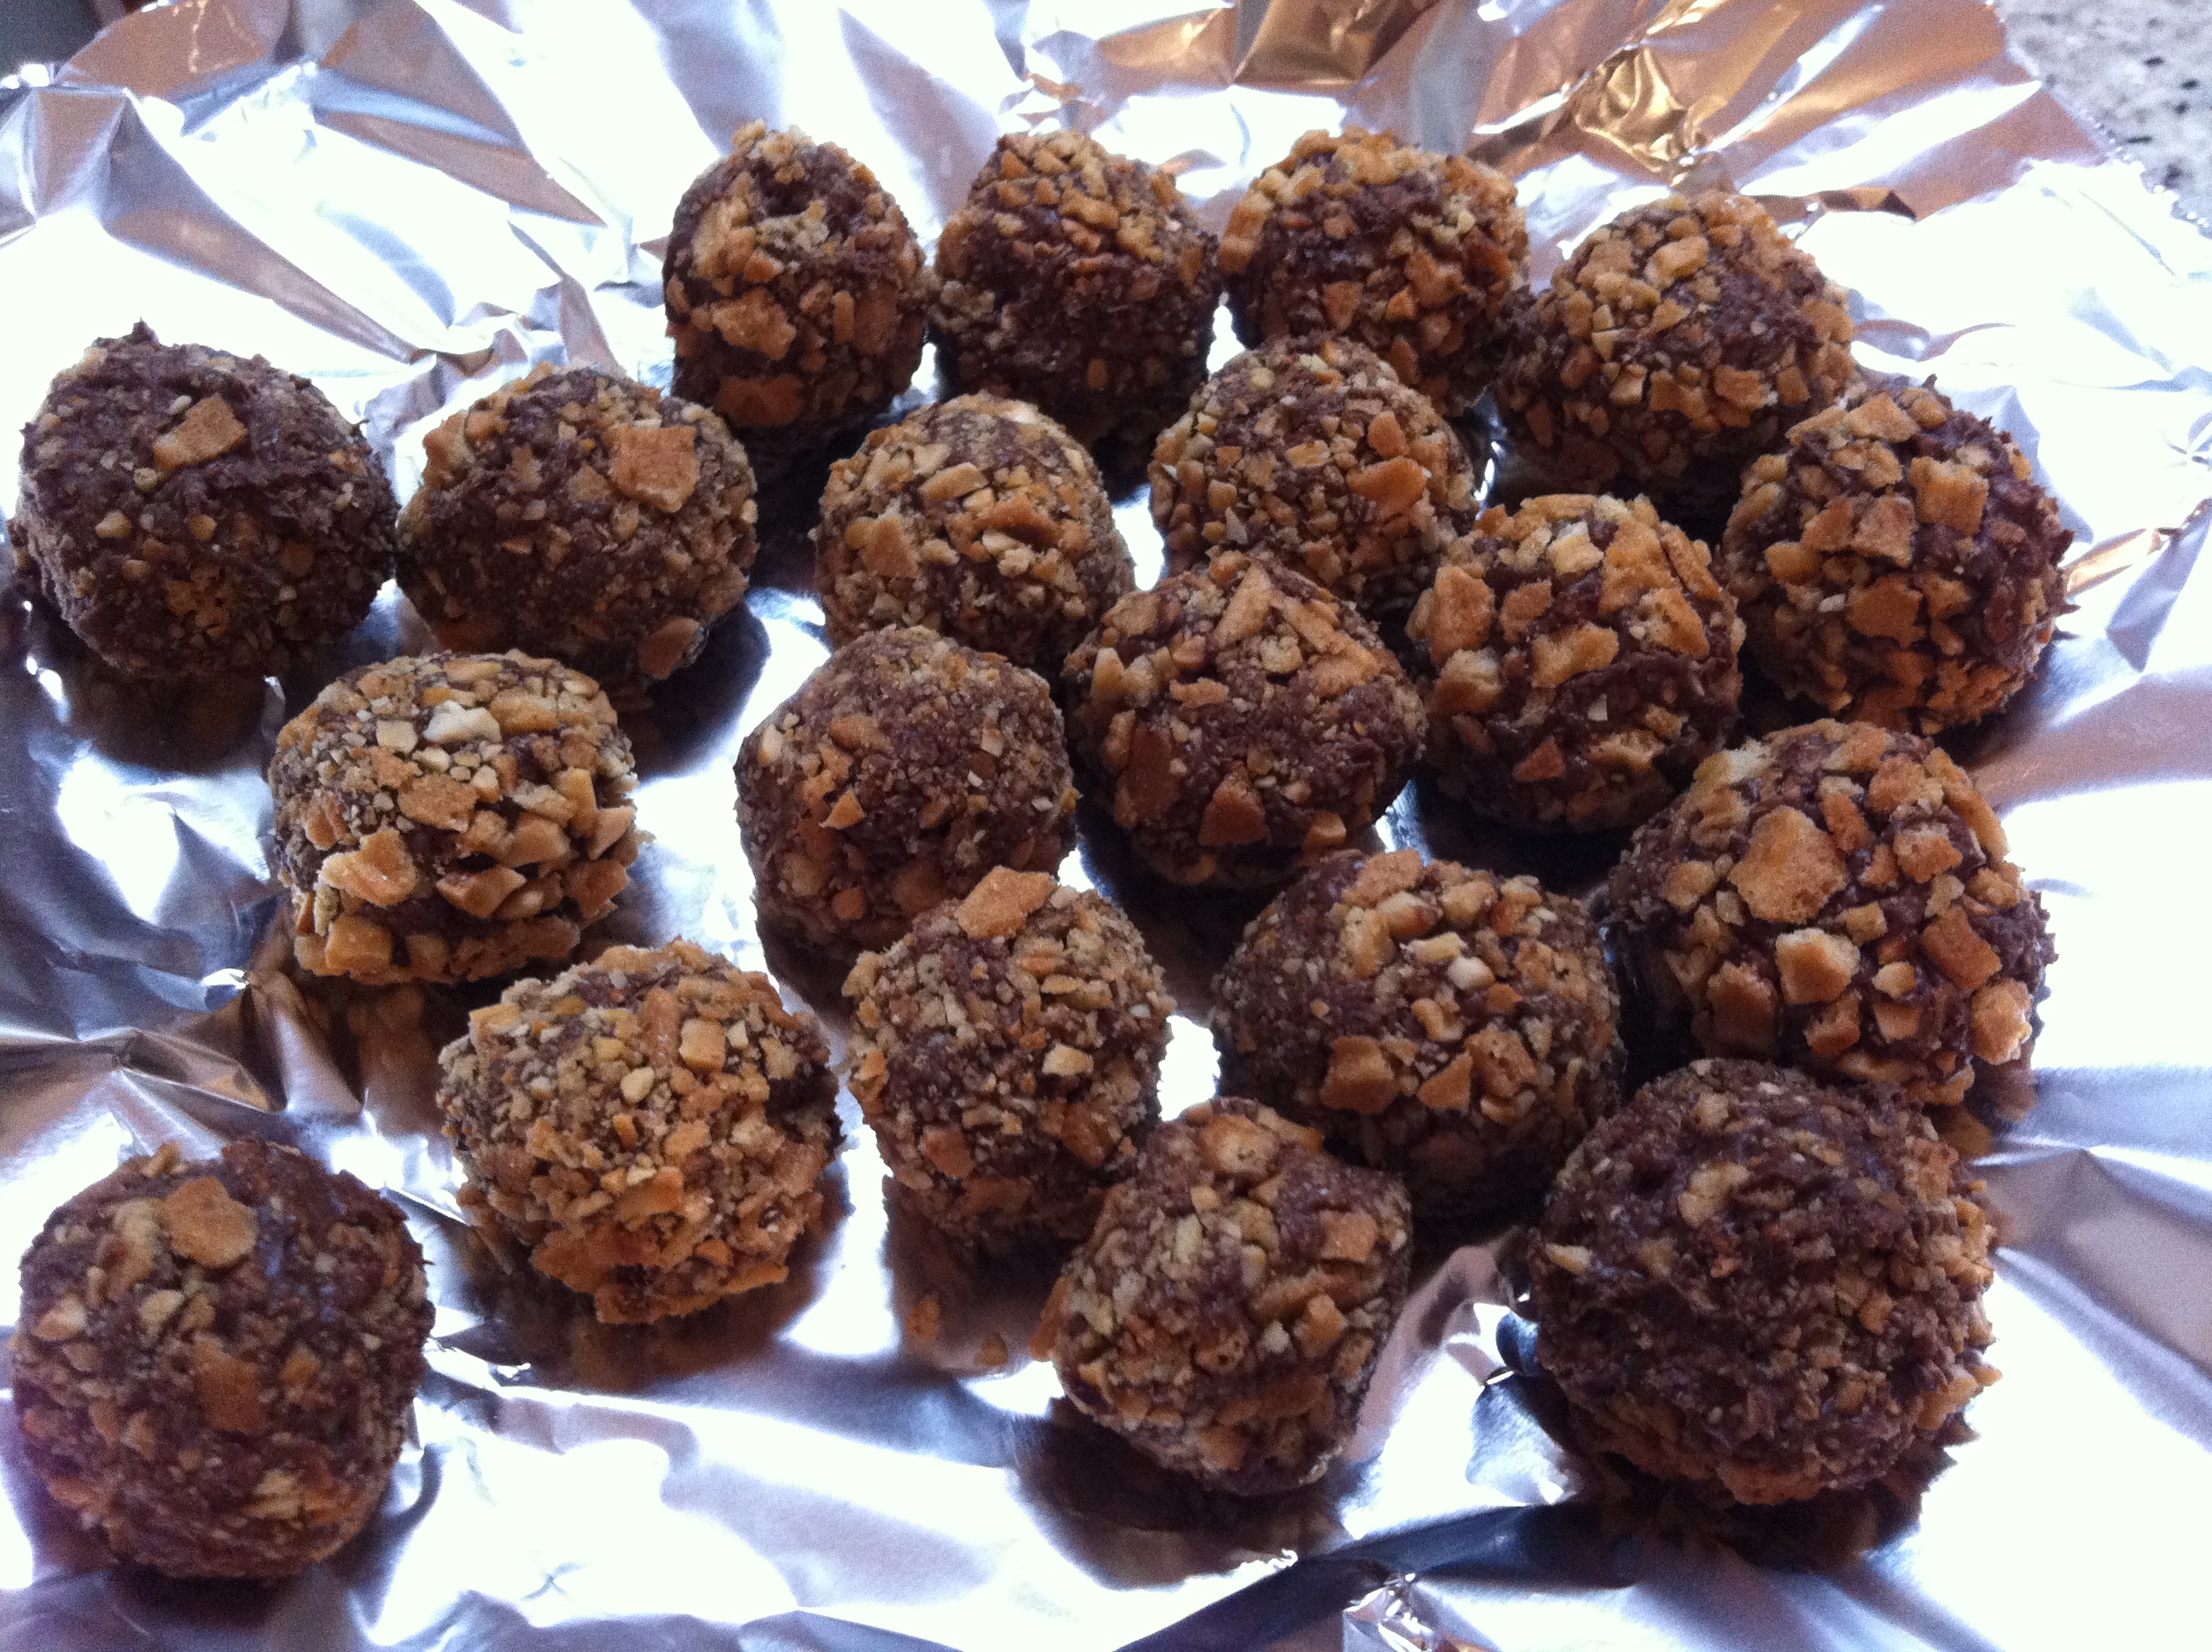
Coated in crispy wafer & waiting for a chocolate coat . . .
Head online and you’ll find a number of different recipes for Ferrero Rocher. Two of the highest ranking results are in Serbian (although they substitute Nutella with the less appetisingly named Eurocrem) but even armed with my Google translator I couldn’t quite make sense of the detail; a shame as the accompanying photos are truly gorgeous. Recipes from My Food Obsession and Almost Bourdain proved a little easier to follow, although the latter incorporates a few too many chopped nuts for my liking, losing the creamy swirl of Nutella against the whole nut centre. My version below is a combination of the two, but have a play around to find the ratio of ingredients you like the most; this recipe is fairly forgiving and pretty much any combination of Nutella, chocolate and nut will taste good.
ferrero_rocher_plate
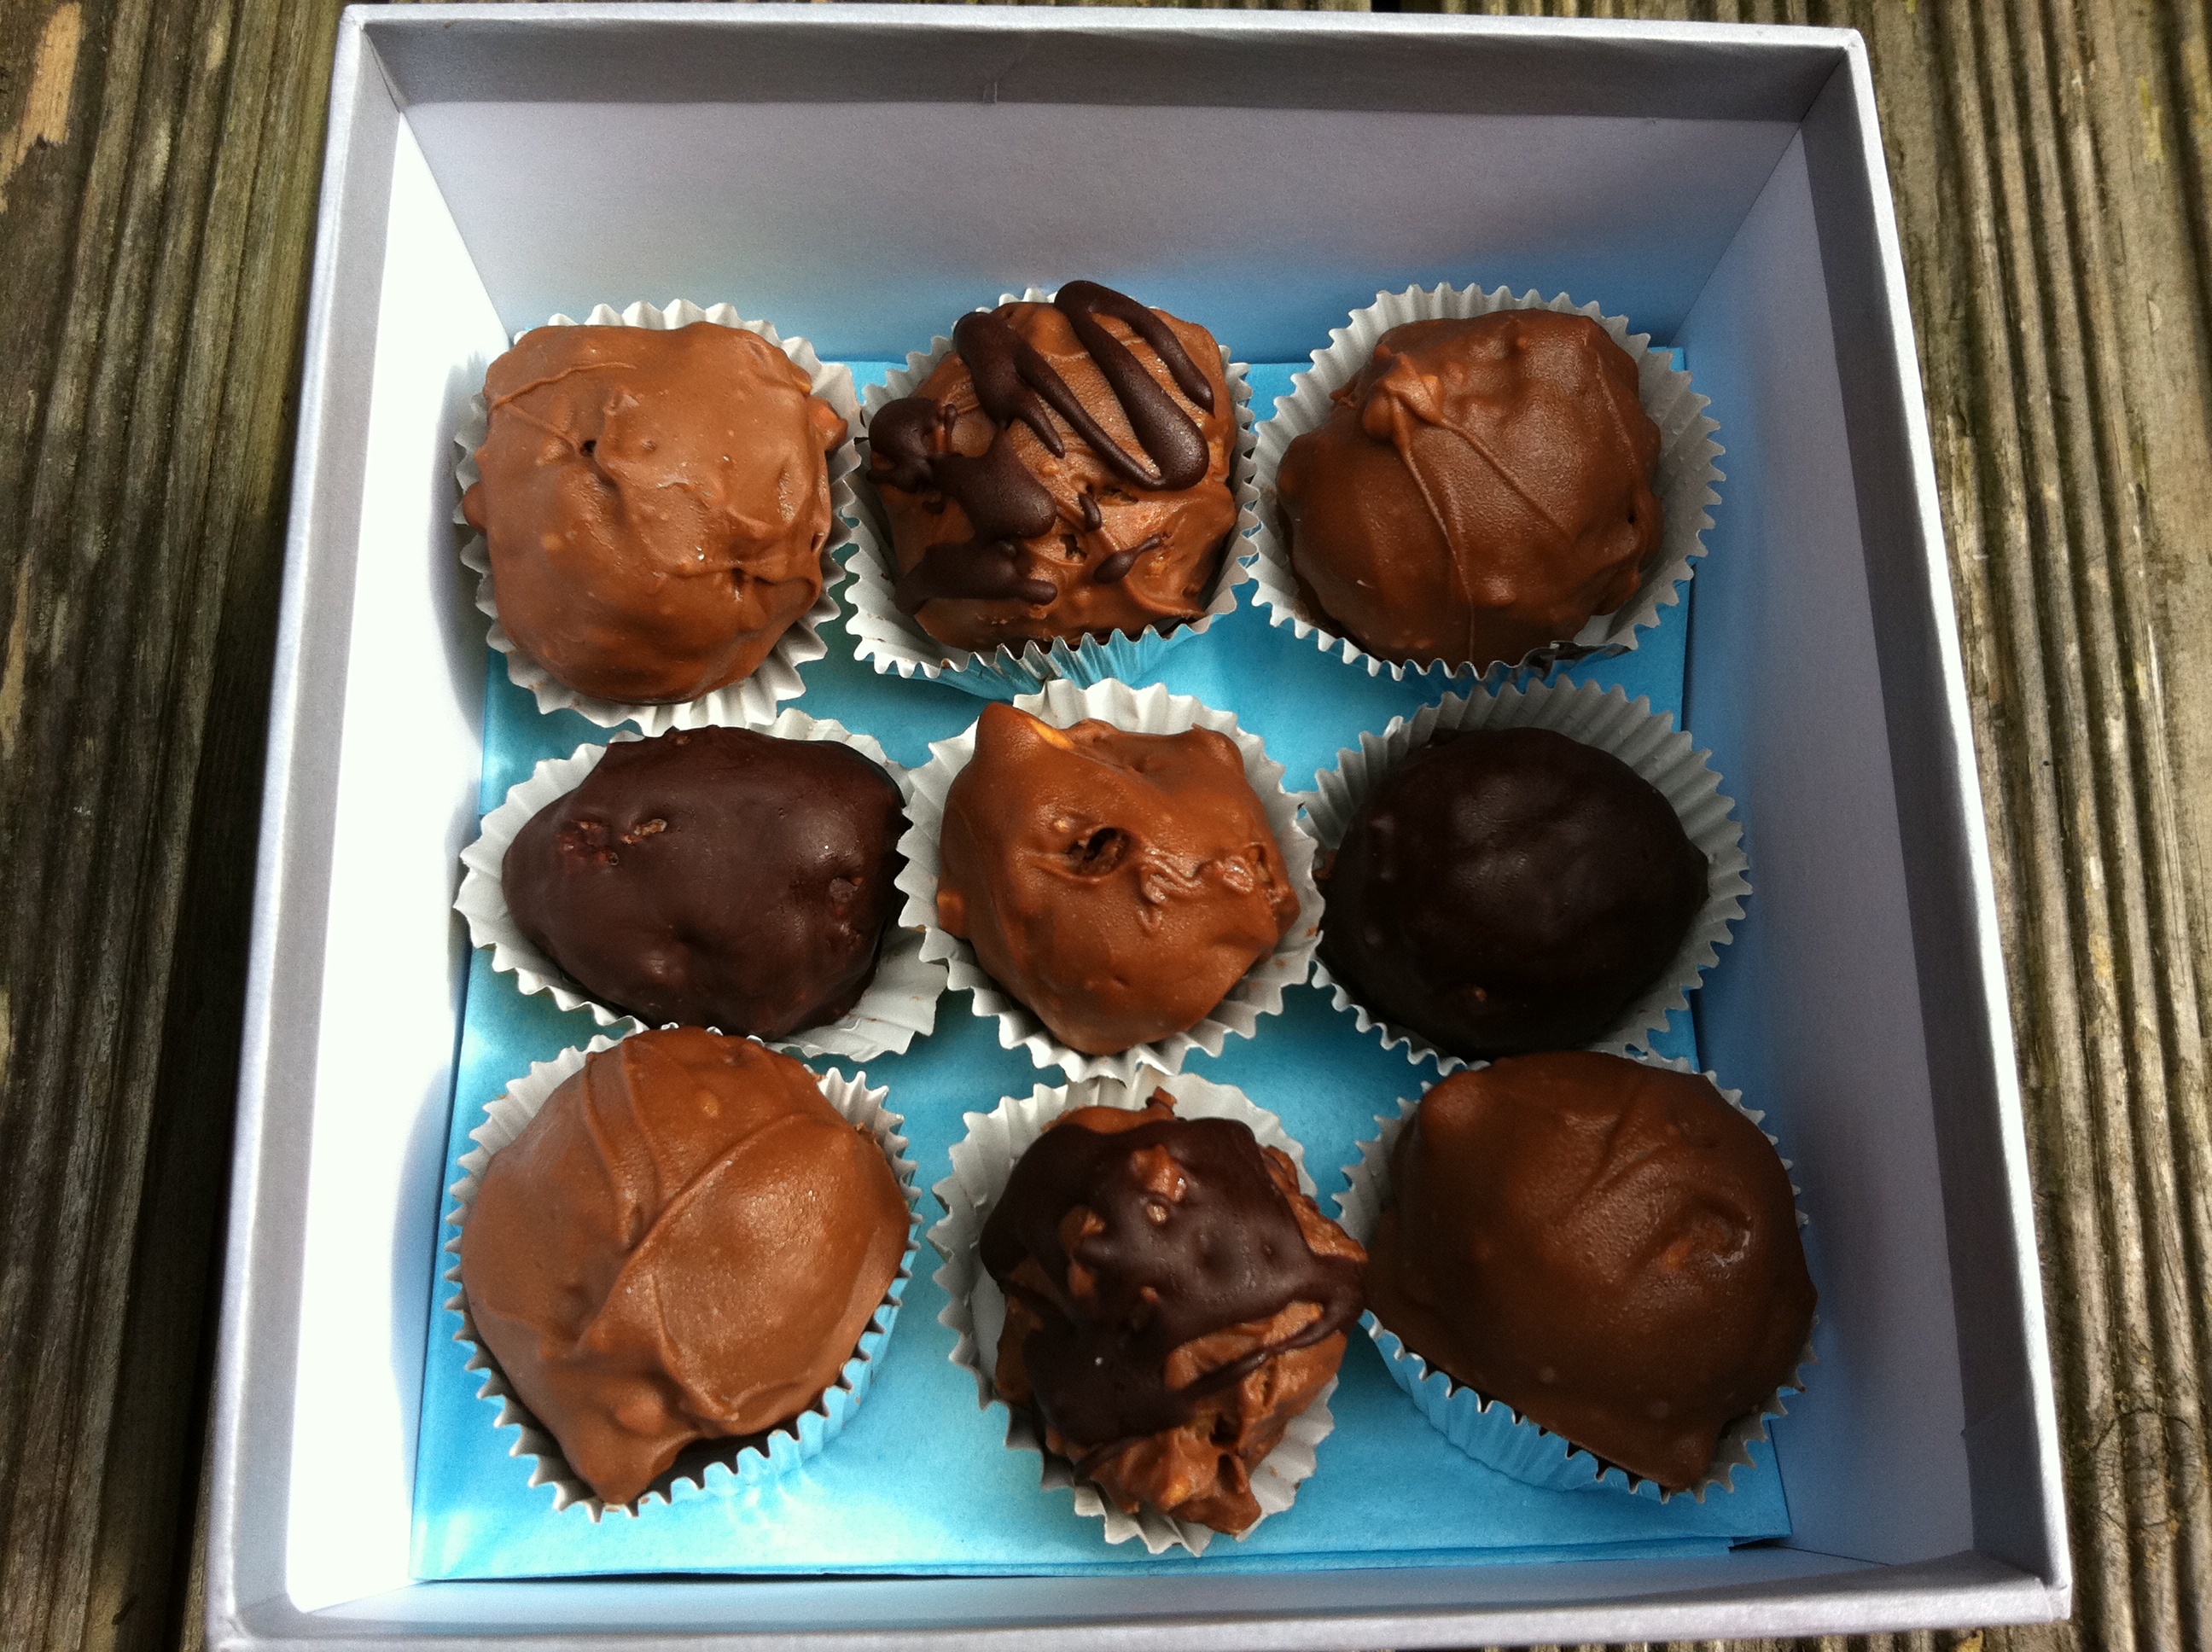
The coating can be milk, dark or even white chocolate to suit your tastes
Making your own sweets is so much fun, and looks impressive for very little effort. There’s no baking involved in this recipe – just a little chopping, rolling and melting – and the process is pretty therapeutic. Once you’ve got the hang of it you can experiment a little too – try coating or drizzling them with dark chocolate as in the photo above.The quantities provided below should make about thirty chocolates, taking into consideration the fact that a fair amount of mixture may disappear as you make them up . . .Homemade Ferrero Rocher(makes 25 – 30 generous sized chocolates)Ingredients:120g hazelnuts
200g Nutella
70g ice cream wafers
250g good quality milk chocolateMethod:Preheat the oven to 175 degrees C. Spread the hazelnuts on a baking tray and toast for 10 minutes, shaking once half way through. Remove from the oven, leave to cool then rub vigorously in a kitchen towel to remove as much of the papery skins as possible.Put 30 whole hazelnuts to one side, then finely chop the rest. Put the Nutella in a small bowl and stir in half of the chopped nuts. Pop in the fridge to firm up – around one hour.Line a plate with baking parchment or tinfoil. Chop the ice cream wafers and mix with the remaining chopped nuts. Remove the Nutella mixture from the fridge and, working quickly, roll small teaspoons of the mixture into balls, pushing a whole hazelnut to the centre of each one. Roll each ball in the mixture of chopped nuts and wafer til fully coated then pop onto your prepared plate and freeze until firm – around one hour.Melt the milk chocolate gently in a bain marie then allow to cool to room temperature. Remove your chocolate balls from the freezer and, working quickly, drop a ball into the melted chocolate, coating completely. Because the balls are part frozen, the chocolate should firm up around them almost instantly. Repeat with the remaining balls then transfer to the fridge to set completely.Once set, place the chocolates in individual gold wrappers, stack into a pyramid and give the Ambassador a call.

South African Exotic Recipes


http://almostbourdain.blogspot.gr/


http://www.thelittleloaf.com/2011/08/23/homemade-ferrero-rocher/

Thursday, August 28, 2014

Homemade Baileys Irish Cream Recipe

Homemade Baileys Irish Cream Recipe


Ingredients
  • 1 cup light cream (I used heavy whipping cream, which made it even richer)
  • 14 ounces sweetened condensed milk 400 grams
  • 1 2/3 cup Irish whiskey (I used Jameson's) 400 milliliters
  • 1 teaspoon instant coffee
  • 2 tablespoons chocolate syrup
  • 1 teaspoon vanilla
  • 1 teaspoon almond extract (I skipped this entirely)
Instructions
  1. Combine all ingredients in a blender and set on high speed for 30 seconds.
  2. Bottle in a tightly sealed container and refrigerate. Shake before using.
  3. Will keep for up to 2 months.

Read more at http://www.cupcakeproject.com/2009/12/homemade-baileys-irish-cream-youll.html#QDCMJATuKxDLFV3a.99


Monday, August 18, 2014

Σαντιγύ

 http://www.funkycook.gr/santygi/


ΥΛΙΚΑ

ΟΔΗΓΙΕΣ

Βάζουμε ένα μεταλλικό μπωλ και την κρέμα στην κατάψυξη για 15 λεπτά.
Βάζουμε όλα τα υλικά στο μίξερ και χτυπάμε στην δυνατή ταχύτητα για 4′ ολόκληρα λεπτά!

H κρέμα είναι πανέτοιμη προς χρήση, ακόμη και για να γαρνίρετε άμεσα το γλυκό σας, δοκιμάστε την και σκέτη με φρέσκα φρούτα!

 2

Εκτέλεση συνταγής

Βάζετε την κρέμα και το μπολ όπου θα χτυπηθεί η σαντιγί για 15 λεπτά στην κατάψυξη να κρυώσουν.
Χτυπάτε την κρέμα γάλακτος με μίξερ στη γρήγορη ταχύτητα για 2 1/2 λεπτά και όταν αρχίζει να πήζει, πασπαλίζετε από πάνω την άχνη, συνεχίζοντας το χτύπημα.
Σταματάτε το χτύπημα με το που πήξει , γιατί αλλιώς η σαντιγί θα κόψει και θα κάτσει.

Σημειώσεις συνταγής

Προσαρμόζουμε τις ποσότητες αναλόγως με το πόση σαντιγί θα χρειαστούμε.


Πηγή: Συνταγες : Σπιτική σαντιγί http://www.sidages.gr/

 3
 Τι χρειαζόμαστε:

    1 κρέμα γάλακτος (από 35% λιπαρά και πάνω)
    άχνη ζάχαρη (προαιρετικά)


Πώς το κάνουμε:

    Βάζω για τουλάχιστον μια ώρα στην κατάψυξη τα εργαλεία μου (αυγοδάρτες - μπολ/μπασινα μεταλλική σε περίπτωση που χρησιμοποιώ mixer χειρός) και την κρέμα στο ψυγείο.
    Βάζω την κρέμα στην κρύα μπασινα/ μπολ του μίξερ και χτυπώ στο δυνατό μέχρι να αφρίσει.
    Προσθέτω ζάχαρη ενώ χτυπώ.
    Σε 3-5 λεπτά συνήθως αρχίζει να σφίγγει (ανάλογα τη θερμοκρασία και τα λιπαρά). Τότε χαμηλώνω την ταχύτητα για να μην κόψει.
    Όταν η το μίγμα γίνει σφιχτό σαν μαρέγκα, ή στέκεται σε ένα κουτάλι ακόμα κι αν το γυρίζουμε ανάποδα, τότε η σαντιγί είναι έτοιμη!

Λίγα μυστικά ακόμα

Για σίγουρο αποτέλεσμα χρησιμοποιώ κρέμα γάλακτος πλήρη και άχνη εάν χρειάζεται ζάχαρη.

Καλό είναι να χρησιμοποιήσουμε μεταλλικό σκεύος (δοχείο του μίξερ ή μικρή κατσαρόλα) για να "κρατεί" καλύτερα την ψύξη.

Εάν δεν έχουμε στο μίξερ μας αυγοδάρτες ή μίξερ χειρός γίνεται και με το χέρι (με αυγοδάρτη πάντα!) αλλά είναι πιο κουραστικό και χρονοβόρο.

Διαβάστε περισότερο:

 4

Τι χρειαζόμαστε:

  • 1 κουτί φυτική κρέμα γάλακτος
  • 1 κουτί ζωική κρεμα γάλακτος
  • 1 βανίλια σε σκόνη
  • 2-3 κουταλιές της σούπας ζάχαρη άχνη
  • 1-2 σφηνάκια κονιάκ ΜΕΤΑΧΑ

  Αν η κρέμα γάλακτος δεν πήζει ώστε να γίνει σαντιγί, μην την πετάξετε. Προσθέστε σιγά σιγά σκόνη άνθος αραβοσίτου στιγμής (όχι αυτή που βράζει) σε ότι γεύση θέλετε και θα έχετε μια ωραία κρέμα ζαχαροπλαστικής για τα γλυκά σας. Προσοχή στην ποσότητα της σκόνης ώστε να μη σφίξει πολύ η κρέμα.</p>

Το κολπάκι αυτό μας το έστειλε η Σοφία Παύλου από την Κέρκυρα, την οποία και ευχαριστούμε πολύ!</p></blockquote>

Πώς το κάνουμε:

  1. Τοποθετήτε όλα το υλικά στο μίξερ και τα χτυπάτε δυνατά μέχρι να δέσουν.
  2. Για καλύτερα αποτελέσματα αφήστε την να σταθεί στο ψυγέιο για μία με δύο ώρες.

Λίγα μυστικά ακόμα

Μπορείτε να πειραματιστείτε με διάφορα λικέρ και αρωματα ζαχαροπλαστικής στην σαντιγύ σας. Προσωπικα πιστεύω ότι το κονιάκ και η βανίλια είναι η καλύτερη και πιο ντελικάτη λύση.
Χρησιμοποιούμε 2 ειδών κρέμες γάλακτος για να μην γίνει ούτε αραιή και άνοστη, ούτε πολύ βαριά.


Δοκιμαστική Κρέμα για Εκμέκ


1 1/2 λίτρο γάλα - 1/2 λίτρο γάλα
6 κουταλιές άνθος αραβοσίτου- 2 κουταλιές άνθος αραβοσίτου
5 κουταλιές σιμιγδάλι ψιλό -  1.7  κουταλιές σιμιγδάλι ψιλό
3 κρόκους-1
1 1/2 ποτήρι ζάχαρη  -1/2 ποτήρι ζάχαρη
2 βανίλιες-    1 βανίλιες
ξύσμα λεμονιού-ξύσμα λεμονιού